How to Make a Robot: A Beginner's Roadmap from Idea to Simulation
You have a robot in your head. An arm that picks up a coffee mug, a rover that navigates a hallway, a gripper that closes on a bolt. Then you open a browser to figure out how to make a robot, and within twenty minutes you're drowning in motor torque curves, stepper driver wiring, part-sourcing spreadsheets, and forum threads about power supplies. The idea never moved. It never even got tested. Most beginners assume the first step is buying hardware, and they burn weeks and dollars before validating a single design decision.
There's a faster path, and it's the one professional roboticists actually use: simulation first. You design your robot, describe it in a standard file format, and test it moving on screen before you spend a cent or solder a wire. According to MathWorks, robot simulation improves safety through virtual testing, cuts material and prototyping costs, and accelerates iteration cycles. That's not a beginner shortcut — it's the modern engineering baseline.
This roadmap takes you from idea to a digital robot description to a robot simulation you can command, with no hardware required.
Table of Contents
- Decide What Kind of Robot You're Actually Building
- Simulation-First: Why You Don't Need Hardware to Start
- The Robot Description File: What URDF Is and Why It's the Blueprint
- Your Build Path: 6 Steps from Idea to a Moving Simulated Robot
- Author It Yourself vs. Start from a Verified Model
- The Errors That Will Break Your First Robot
- Your First-Robot Launch Kit: A Copy-Ready Action Plan
- Frequently Asked Questions
Decide What Kind of Robot You're Actually Building
Before you write a line of anything, pick a robot class. This is the first real fork, and it matters because class determines joint count, kinematic complexity, and how hard your robot will be to simulate stably. Getting this wrong is why so many first projects stall — people pick a legged humanoid as build number one and never get it standing.
There are four practical categories.
A manipulator arm has a fixed base and a serial chain of revolute joints — think UR5e or Franka Panda. Its kinematics follow Denavit–Hartenberg conventions, and joints commonly rotate around the z-axis, a point the FusyBots manipulator tutorials stress repeatedly. The structure is a clean serial tree, which makes it a strong learning target. A simple 2–3 joint arm is a reasonable first build.
A mobile robot is a wheeled base like TurtleBot3. It's the simplest thing to get moving in simulation: fewer joints, forgiving of modeling errors, and quick to see driving around. For most beginners, this is the ideal first project.
A legged robot — a Spot-class quadruped — is contact-rich with twelve or more joints. It is the hardest category to simulate stably, and contact-rich scenarios are exactly where your physics-engine choice starts to matter. Robotics integrator Trossen Robotics notes in its simulator comparison that MuJoCo's contact solver excels precisely in these grasping and walking scenarios.
A hybrid robot combines locomotion and manipulation — an arm mounted on a wheeled base, or a wheeled-biped. This is the highest complexity tier and not a sensible first build.
One structural constraint shapes every one of these choices. As documented in the ROS Wiki URDF specification, the format only models tree-structured rigid-body systems — it cannot represent parallel mechanisms or flexible elements. That means closed-chain designs like a delta robot are off the table for a first build. If your idea depends on a parallel linkage, simplify it or shelve it for later.
| Robot type | Typical real-world example | Joint count (approx.) | Beginner simulation difficulty |
|---|---|---|---|
| Wheeled mobile | TurtleBot3 | 2–4 | Low |
| Manipulator arm | UR5e / Franka Panda | 6–7 | Medium |
| Legged (quadruped) | Spot-class | 12+ | High |
| Hybrid (mobile + arm) | Wheeled-biped | 8–14+ | Very high |
Joint counts are typical ranges from robot-class norms referenced in URDF manipulator and mobile-robot tutorials — treat them as approximate, not exact spec.
Match ambition to skill. A wheeled mobile robot or a 2–3 joint arm gives you fast feedback and a working result. The quadruped can wait until you've internalized how joints, inertias, and collisions behave.
The robot you can finish beats the robot you imagine — scope your first build to something you can simulate in a weekend.
Simulation-First: Why You Don't Need Hardware to Start
The paradigm is simple: validate kinematics, control logic, and behavior in software before buying a single part. Here's why that's the right default, not a compromise.
- Zero hardware cost to start. The core simulators — Gazebo, PyBullet, MuJoCo, and Isaac Sim — are free to use, and open-license robot models cost nothing to download and modify. Eliminating physical prototypes is a documented cost benefit, not marketing. You can iterate on a design for weeks without spending anything.
- Fail safely and infinitely. A simulated robot can crash into a wall, fall off a table, or spin its wheels off with zero consequences. Virtual testing removes physical risk, and you reset instantly. On hardware, that same fall bends a bracket or fries a motor driver.
- Test control logic before hardware exists. You can wire up controllers and command joints against a model that has no physical counterpart yet. As industrial simulation provider OPAL-RT's engineering guide explains, simulation lets teams validate controllers and system integration earlier, reducing rework down the line. You debug the logic while it's cheap to fix.
- It's the professional research baseline. Physics engines are heavily cited across the robotics literature. An academic review of physics engines for reinforcement learning found MuJoCo with over 3,800 citations since 2012, Gazebo with 2,698, and PyBullet with over 1,308. Simulation isn't a training-wheels phase you graduate from — it's where serious work happens.
- The environments where your robot will live. Four simulators dominate, and each has a lane. Gazebo is the general-purpose choice for ROS 2 development and runs on modest hardware. Isaac Sim targets AI and perception work but wants a strong NVIDIA GPU. PyBullet is lightweight and Python-friendly for reinforcement-learning prototyping. MuJoCo is built for fast, contact-rich dynamics like grasping and walking. Detailed selection guidance is in the FAQ below — for now, know that these four are the stage your robot will perform on.
None of this requires you to understand the description file yet. That's next.
The Robot Description File: What URDF Is and Why It's the Blueprint
Every simulated robot needs a description the software can read. In the ROS ecosystem, that description is URDF — the Unified Robot Description Format.
URDF is an XML-based file that describes a robot as a tree of links (rigid bodies) connected by joints, encoding kinematic and dynamic properties, visual meshes, and collision geometry in a single robot description. According to the Foxglove URDF overview, ROS tools like rviz and Gazebo consume this file as the canonical model of your robot. It is the de facto standard robot description across ROS. If you're asking what is URDF, the short answer is: it's the file that turns your idea into something the simulator can actually load.
Here's the anatomy at a beginner level.
Links are rigid bodies — a base, an arm segment, a wheel. One robot has exactly one root link, and everything else hangs off it as a tree. The <robot> element contains multiple <link> elements, each a solid piece of your machine.
Joints define how one link moves relative to its parent. There are four types you'll use constantly. A revolute joint rotates within limits. A continuous joint rotates without limits — no limit values needed, which is what a wheel uses. A prismatic joint slides linearly. A fixed joint allows no motion at all, useful for rigidly attaching a sensor mount.
Visual versus collision meshes is a distinction beginners miss. The visual mesh is the pretty render you see. The collision mesh is the simplified geometry the physics engine uses to detect contact. Best practice, echoed on ROS Discourse and by robotics engineer Alex Hattori, is to keep collision geometry simple — primitive shapes — for real-time performance while matching mass and center of mass accurately to your CAD. A detailed collision mesh tanks your frame rate for no benefit.
The inertial element is where most first robots die. Every simulated link needs mass, a center of mass, and an inertia tensor. ROS tutorials on adding physical and collision properties warn that missing or near-zero inertia values cause the model to collapse without warning, with all links snapping to the world origin. This is not optional for physics. A robot with no inertia is a robot that falls apart the instant you press play.
Units are SI, always. Meters for length and position, radians for joint angles. Revolute limits are specified in radians, prismatic limits in meters, and limits are omitted for continuous and fixed joints. Mixing degrees into a radian field is a silent, maddening bug.
Sensors can be attached to links via their own frames and configurations — cameras, lidar, IMUs — so your model perceives the world it's simulated in.

Once your robot grows past a handful of links, hand-copying identical parts gets painful. That's what XACRO solves. Xacro is an XML macro language that expands into standard URDF, enabling modular, parameterized descriptions. The ROS 2 documentation on using Xacro to clean up a URDF file positions it as the preferred way to scale descriptions for larger robots. The beginner payoff is concrete: define a wheel once as a macro, then reuse it four times with different positions instead of copy-pasting forty lines of XML and hoping you didn't fat-finger a coordinate.
Remember the constraint from earlier: URDF is limited to rigid tree structures. Keep that in mind as you sketch, and you'll avoid designing something the format can't represent.
If your robot doesn't exist as a URDF, it doesn't exist to the simulator — the description file is your robot's DNA.
Your Build Path: 6 Steps from Idea to a Moving Simulated Robot
This is the pipeline for how to make a robot step by step. Each stage is tight on purpose — the detail lives in the sections around it. Follow the sequence and you go from a sketch to a robot moving on screen.
- Sketch the kinematic structure. On paper or a whiteboard, list every link and the joints connecting them, parent to child. Decide each joint's type — revolute, continuous, prismatic, or fixed. This is design before any XML. Get the tree right here and the file writes itself.
- Choose a ROS 2 distribution and a simulator. Pick from the active distros: Humble, Iron, or Jazzy. ROS 2 releases annually on May 23, and even-year releases are LTS with 5 years of support, which makes Humble and Jazzy long-lived baselines you won't have to migrate off in a hurry. Pair your distro with a simulator — Gazebo is the safe general-purpose start.
- Obtain or author your URDF/XACRO. Either hand-write the description or start from a verified model and modify it. This is the pivotal beginner decision, and it gets its own section next.
- Load the model into the simulator with a launch file. A launch file starts the simulation and spawns your robot into it. This is the moment your paper sketch becomes a thing on screen.
- Verify joint limits, collisions, and the TF tree. Confirm the robot didn't fall through the floor, that joints move within their limits, and that the transform (TF) tree is fully connected. This is your smoke test — catch problems here before you touch control.
- Send commands and control the robot. Pair each non-fixed joint with the right
ros2_controlinterface — position or velocity. The ROS 2 documentation on using a URDF in Gazebo shows that mismatched joint definitions break control and mimic joints, so this pairing has to line up with how you defined each joint.

That's the whole spine. Everything else in this roadmap makes one of these six steps easier or safer.
Author It Yourself vs. Start from a Verified Model
Step 3 is where beginners split, and the choice shapes how fast you get a moving robot versus how deeply you understand what's under the hood.
Authoring from scratch teaches you the fundamentals. You internalize links, joints, inertias, and axes because you type every one of them. But hand-written URDFs are riddled with silent errors — the kind that produce no error message, just a broken robot. Bad inertia tensors collapse the model to the origin. Wrong joint axes send links spinning the wrong direction. Missing collision meshes drop the robot through the floor. Absolute file paths break geometry loading the moment anyone else opens your file.
Portability adds another trap. Even a standardized URDF can be interpreted differently across simulators. NVIDIA developer forum threads report inertia-tensor and center-of-mass frame differences when importing URDF into Isaac Sim unless specific import options are set. So "it worked in one simulator" is not proof it works everywhere.
Starting from a peer-reviewed, simulation-tested model removes that friction entirely. The value is in what the model ships with: complete documentation, correct joint limits, collision meshes, sensor configurations, and included launch files — pre-verified against Gazebo, Isaac Sim, PyBullet, and MuJoCo, under permissive MIT and Apache 2.0 licenses usable in research, education, and commercial work. This is the practical answer to "where does a beginner get a URDF example that just works." A centralized repository like URDF Hub hosts 50+ verified models — UR5e, Franka Panda, TurtleBot3, Spot, KUKA iiwa 14 — in URDF and XACRO with ROS 2 launch files included, which beats stitching together broken descriptions from scattered GitHub repositories.
| Factor | Author from scratch | Start from a verified model |
|---|---|---|
| Time to first result | Slow (hours to days) | Fast (minutes) |
| Error risk | High (silent inertia/axis/mesh errors) | Low (pre-tested, peer-reviewed) |
| Learning depth | Deep (you build every element) | Moderate (learn by modifying) |
| Best for | Understanding URDF internals | Getting a robot moving quickly |
| Ships with launch files / limits | You write them | Included and verified |
The honest recommendation for a first build: start from a verified model, get it moving, then dissect it. You learn URDF internals faster by modifying a working file than by debugging a broken one you wrote blind. Once you've seen a correct inertial block and a proper joint axis, authoring your own becomes far less mysterious.
The Errors That Will Break Your First Robot
Knowing the failure modes in advance saves you the worst of the debugging pain. Each of these has a specific symptom and a specific fix.
- Missing or near-zero inertial values. Symptom: the robot collapses without warning, all links snap to the world origin, or Gazebo ignores gravity and behaves unrealistically — a failure mode the OmArTronics 6-DOF Gazebo tutorial reproduces directly. Fix: give every simulated link a non-zero mass, a center of mass, and a proper inertia tensor, as the ROS Wiki physical-properties tutorial insists. This is the single most common first-robot killer.
- Wrong joint axis or missing limits. Symptom: a revolute joint spins the wrong way, rotates infinitely, or refuses to move. Fix: align joint rotation axes deliberately — commonly around the z-axis — and follow Denavit–Hartenberg conventions so orientations and limits behave, as the FusyBots manipulator guide recommends. Set revolute limits in radians and prismatic limits in meters.
- Broken or missing collision meshes. Symptom: the robot falls through the floor or passes through objects it should hit. Fix: give each link simplified primitive collision geometry. ROS Discourse guidance is consistent here — simple shapes for collision, accurate mass and center of mass matched to CAD.
- Absolute mesh file paths. Symptom: the model loads with no geometry — an invisible robot, or links with no shape. Fix: use package-relative paths, never machine-specific absolute paths. Absolute paths work only on the exact machine that wrote them and break the instant anyone else loads the file.
- Mismatched ROS 2 distro and simulator versions. Symptom: the launch file fails, nodes won't start, packages won't build. Fix: keep your entire stack inside one active ROS 2 distribution. Compatibility is generally maintained within a distribution but not guaranteed across them, so mixing a Humble package into a Jazzy workspace invites exactly these failures.
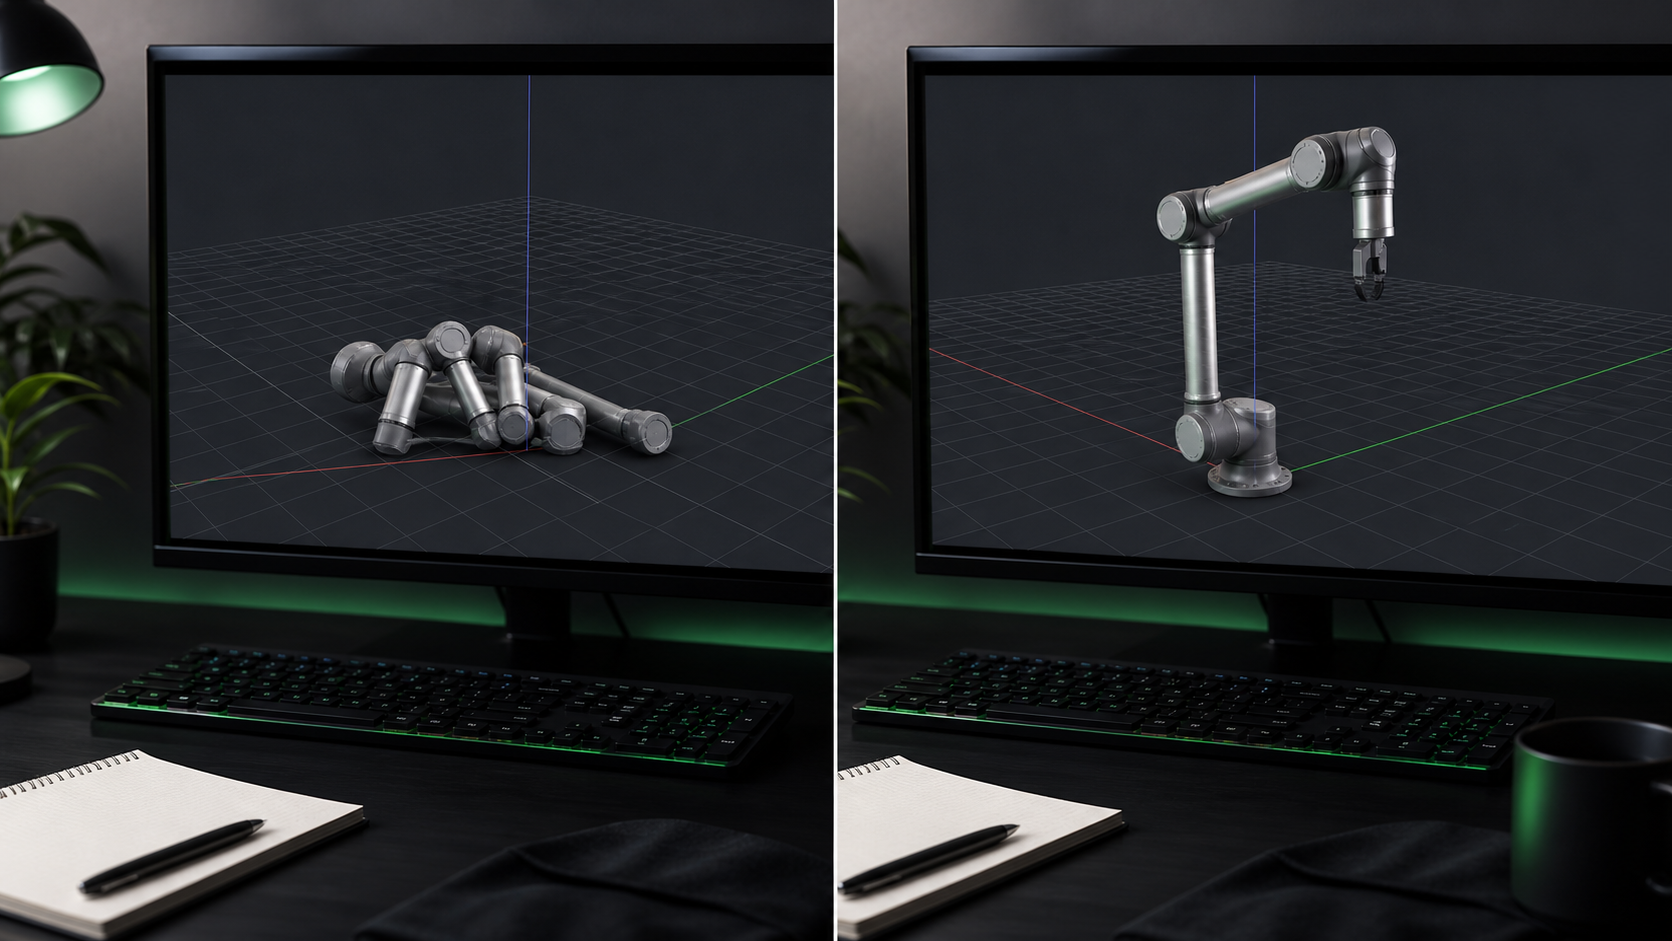
Every one of these is a problem a peer-reviewed, pre-verified model has already solved before you press run. That's the practical case for starting from a known-good file: you skip the entire silent-error minefield and spend your time on the parts that are actually your design.
Most first robots don't fail because the idea was wrong — they fail because an inertia tensor was zero and the model quietly fell to the origin.
Your First-Robot Launch Kit: A Copy-Ready Action Plan
This is the sequence to execute now. Each item points back to a decision you've already made and gives you the concrete next action.
- Pick your robot type. From the decision matrix, choose a wheeled mobile robot or a simple 2–3 joint arm for build number one. Save the quadruped and the hybrid for after you've shipped something that moves.
- Lock your stack. Choose an active ROS 2 distribution — Humble or Jazzy for LTS longevity and 5 years of support — and pair it with Gazebo so you can start on modest hardware without a high-end GPU.
- Download a verified URDF/XACRO matching your robot class. Get one that ships with correct joint limits, collision meshes, sensor configs, and an included launch file. This is how you skip the silent-error minefield entirely and start from a robot that already works.
- Run the included launch file. Spawn the model into the simulator. Your first goal is simply seeing it appear, upright, on the grid floor.
- Validate with a three-check routine. First, inspect the TF tree and confirm every link is connected with no orphans. Second, move each joint through its full range and confirm the model neither collapses nor passes through itself. Third, confirm collision geometry stops the robot at the floor rather than dropping it through.
- Make it yours. Modify one parameter — a link length, or a wheel radius in the XACRO — and re-launch. This is the moment a downloaded model becomes your robot, and the moment you start learning URDF by editing something that already works.
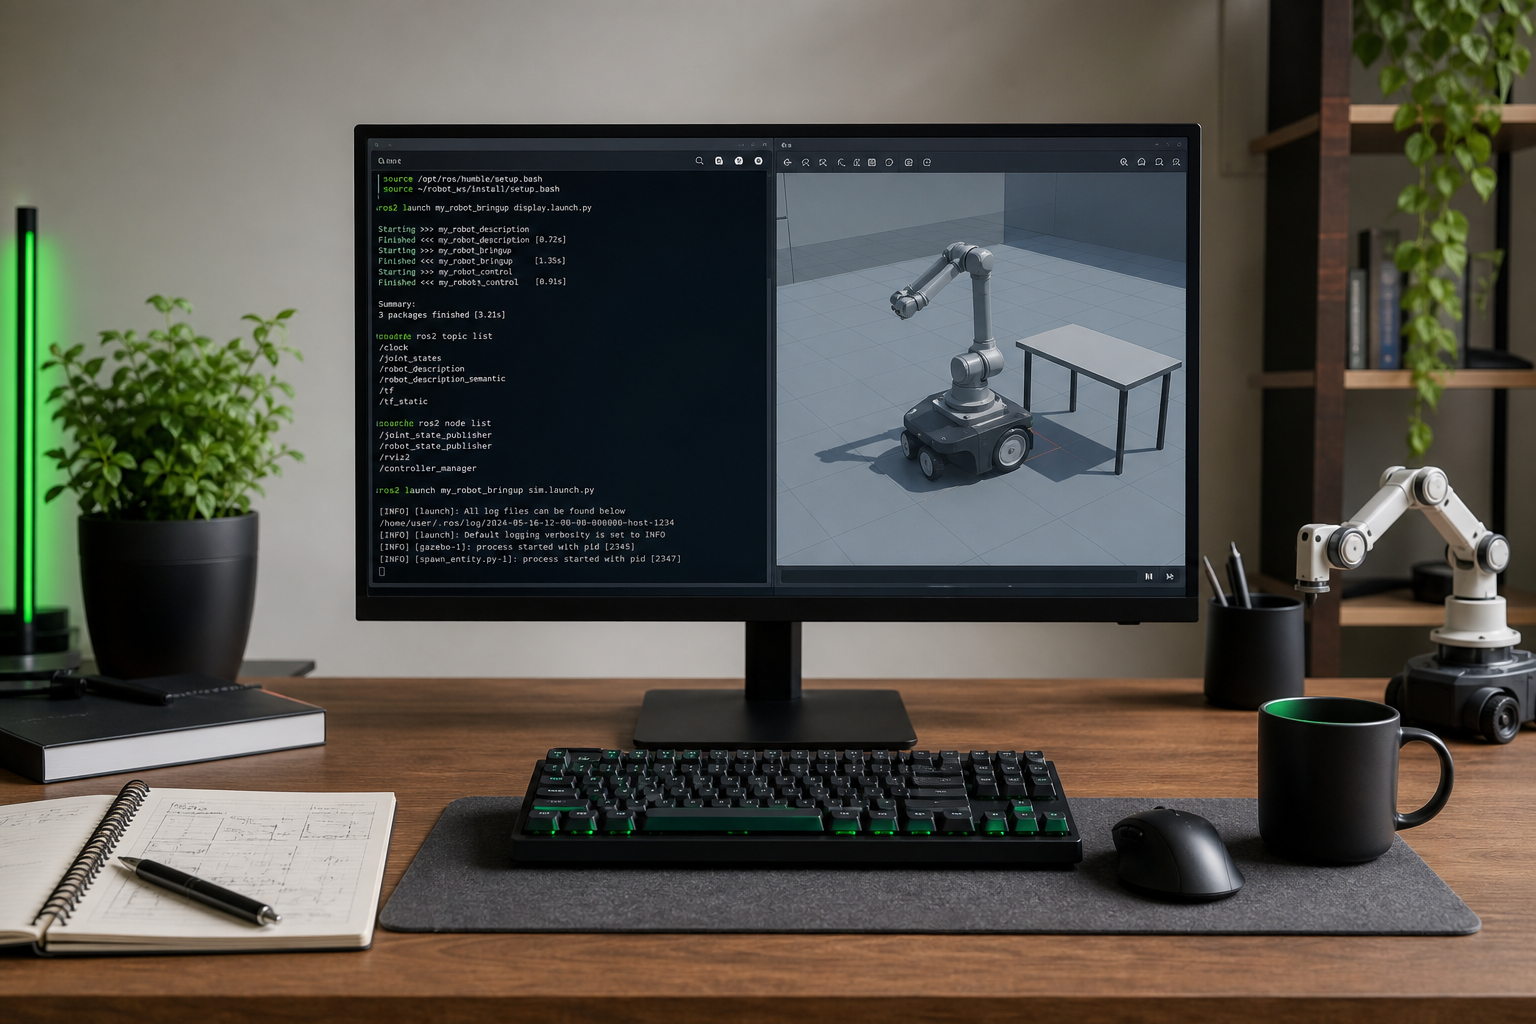
From here, the next frontier is sim-to-real — taking a validated digital robot and putting the behavior on physical hardware. That's a harder problem, and it's where the real research lives. But you now have the thing every serious robotics workflow starts with: a robot that exists, moves, and obeys commands in simulation, built without spending a dollar on parts. That's how to make a robot the way professionals actually do it.
Frequently Asked Questions
Do I need to know how to code to make a robot in simulation?
You don't need deep programming to start. URDF and XACRO are XML markup, not code — you're describing rigid parts and how they connect, which robotics educators frame as defining "all of the rigid parts and also how they interact with each other." You'll use a handful of terminal commands to launch the simulator and inspect the robot. Real programming enters the picture when you write custom controllers or behavior logic. Until then, a downloaded verified model with launch files gets you a moving robot with minimal scripting.
How much does it cost to make a robot in simulation?
Effectively $0 to start. The major simulators — Gazebo, PyBullet, MuJoCo, and Isaac Sim — are free, and verified models under MIT and Apache 2.0 licenses are free to use in research, education, and commercial projects. The only real cost is hardware for the most demanding simulations. Isaac Sim wants a strong NVIDIA GPU for its photorealistic rendering, while Gazebo and PyBullet run comfortably on modest machines. For a first build on Gazebo, your existing laptop is very likely enough.
Can I turn my simulated robot into a real one later?
Yes — that's the sim-to-real bridge, and it's the natural next step. Be realistic about the difficulty, though. Real-world physics, sensor noise, lighting, and contact dynamics are hard to model exactly, so a policy that works flawlessly in simulation can still fail on hardware. Researchers bridge this gap with domain randomization, domain adaptation, and meta-learning, reflecting a consensus that high-fidelity physics alone isn't enough. There's also evidence that agents can overfit to one simulator's quirks rather than learning behavior that generalizes, so plan to test broadly.
Which simulator should a total beginner choose first?
Start with Gazebo. It's the general-purpose, well-supported choice for ROS 2 development, runs on modest hardware, and has extensive sensor plugins. Move to Isaac Sim later if you need photorealistic perception or synthetic data for AI training — and have the NVIDIA GPU to run it. Reach for PyBullet when you want lightweight Python-friendly reinforcement-learning prototyping, and MuJoCo when you need fast, contact-rich dynamics like grasping or walking, where its solver is genuinely strong. Pick one, ship a robot, then branch out.